Setup Supabase DB Locally for Your NextJS/ReactJS Projects
DB setup, auth, seed file, switching projects… everything you need to know to setup your local DB

Prerequisite: Install the supabase CLI on your machine following instructions from HERE.
#1 Create new Supabase DB locally
Note: The SaaS templates already have this supabase config setup (you can skip this step), this is only to improve your understanding, if you wanted to delete the /supabase directory and configure it from scratch yourself.
Navigate to your project directory
Create a new local supabase database configuration by running:
supabase init
This creates/initializes a supabase/config.toml file in your current working directory that has a default configuration that supabase will use to create and run your database, auth, and other supabase services with the next command we cover below.

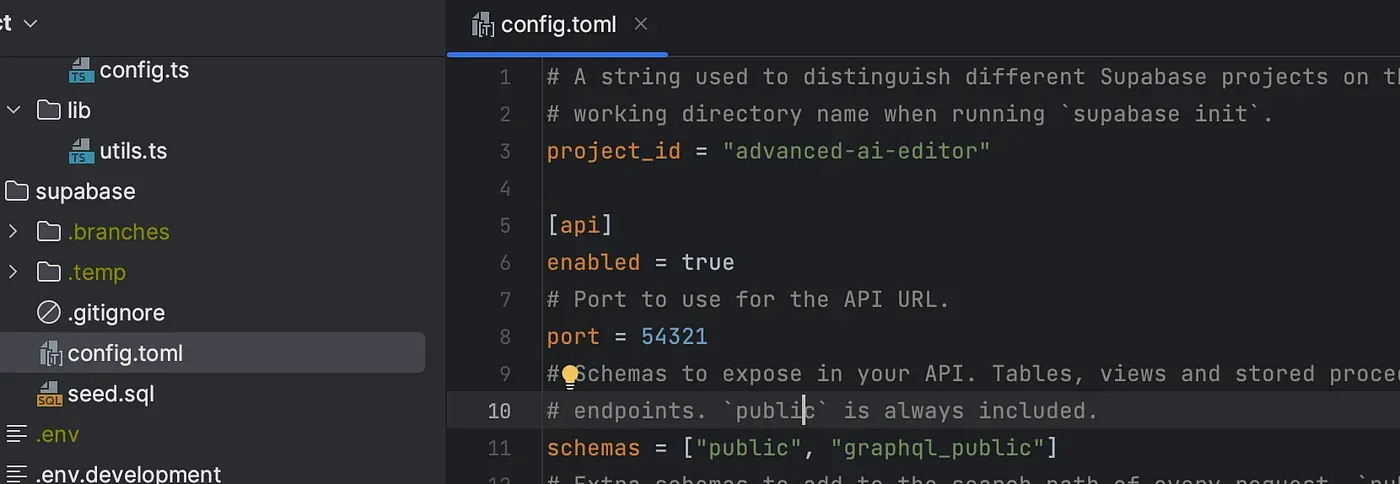
#2 Setup your local database keys
Make sure you are in your project directory that has the supabase/config.toml file.
1) Run supabase start
This will read from your supabase/config.tom file and START your database (it runs all supabase services in Docker containers, make sure you have Docker installed and open)
2) Update your supabase config variable values in your .env.development file
NEXT_PUBLIC_SUPABASE_URL=NEXT_PUBLIC_SUPABASE_ANON_KEY=SUPABASE_SERVICE_ROLE_KEY=
When you run supabase start it will give you the values for the above keys, all you have to do is just copy and paste them:
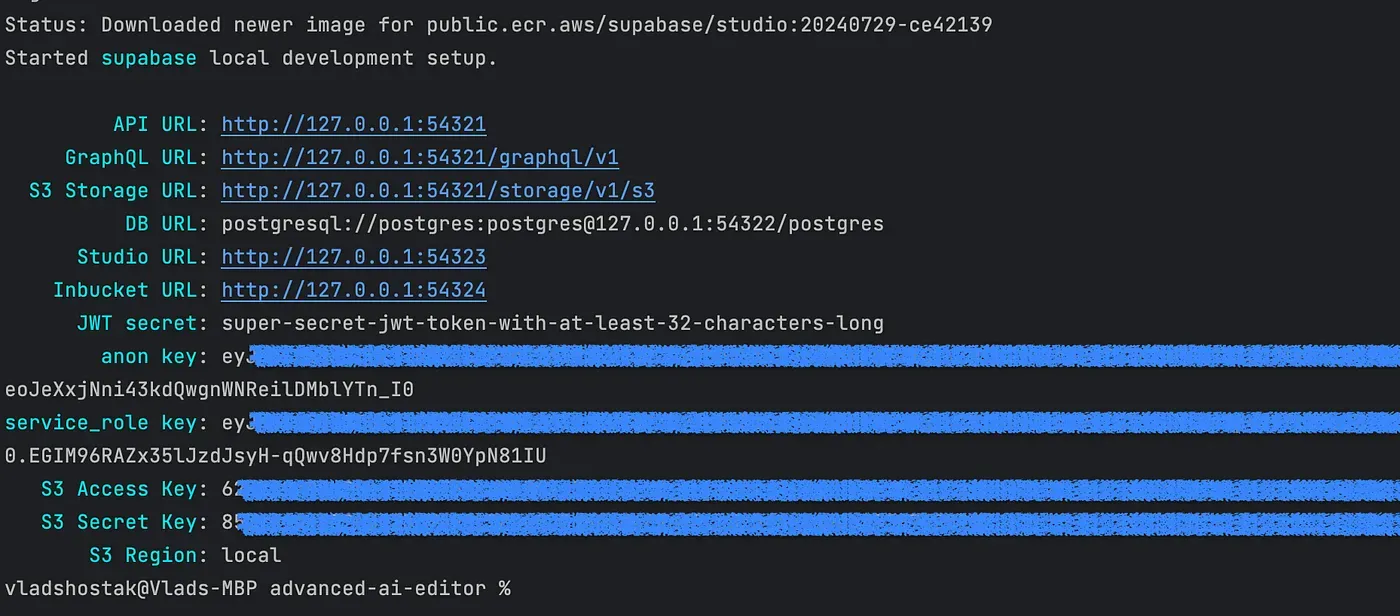
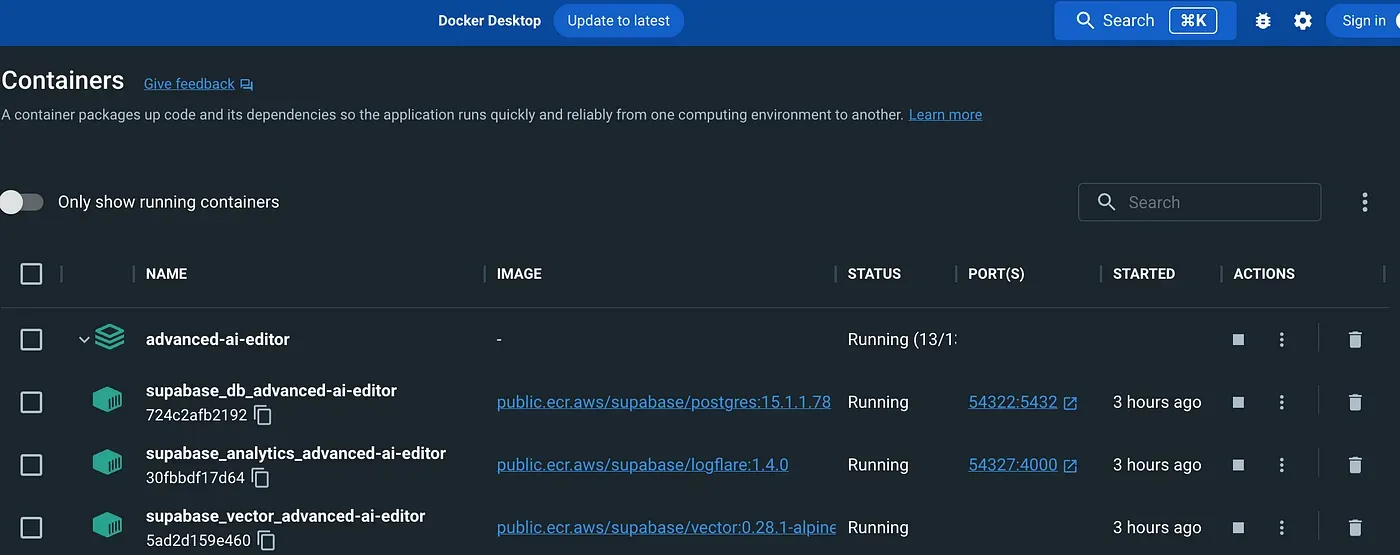
Moving between projects (Stopping and Starting)
You can only have one supabase database running at one time locally, so this is how you can easily shutdown the database for one project and start up another.
Method 1 (within local project dir)
1) Navigate to the project that has the supabase/config.toml that you want to stop from running.
2) Run supabase stop this shuts down the database for the project you are on by looking at the config.tml for the project id.
3) Then you can navigate to the new project and run supabase start which will start up the database for the new project.
Method 2 (from any project dir)
1) Find the project id to stop by running supabase projects list
2) Run supabase stop — project-id to shutdown that project.
3) Then you can start the new project with supabase start (make sure you are in that project directory which has the supabase/config.toml file.
Hint: Your IDE like VS Code or Intellij/WebStorm can automatically open up a terminal window for each project in that directory, making it easy to run the above commands in each project directory.
#3 Create users to login with (Seed data)
Note: The SaaS templates already have this supabase seed setup (you can skip this step), this is only to improve your understanding of how it was setup.
We will create users in our local supabase database that we can login and test with, to avoid going through the signup process each time.
To do this, we use seeding, it’s the process of populating a database with initial data.
The supabase/seed.sql file is run every time you run supabase start or supabase db reset
Let’s use our locally running supabase UI to create the users in the auth.users table and then copy that generated SQL:
1) Create our test user using the supabase local UI: http://localhost:54323/project/default/auth/users
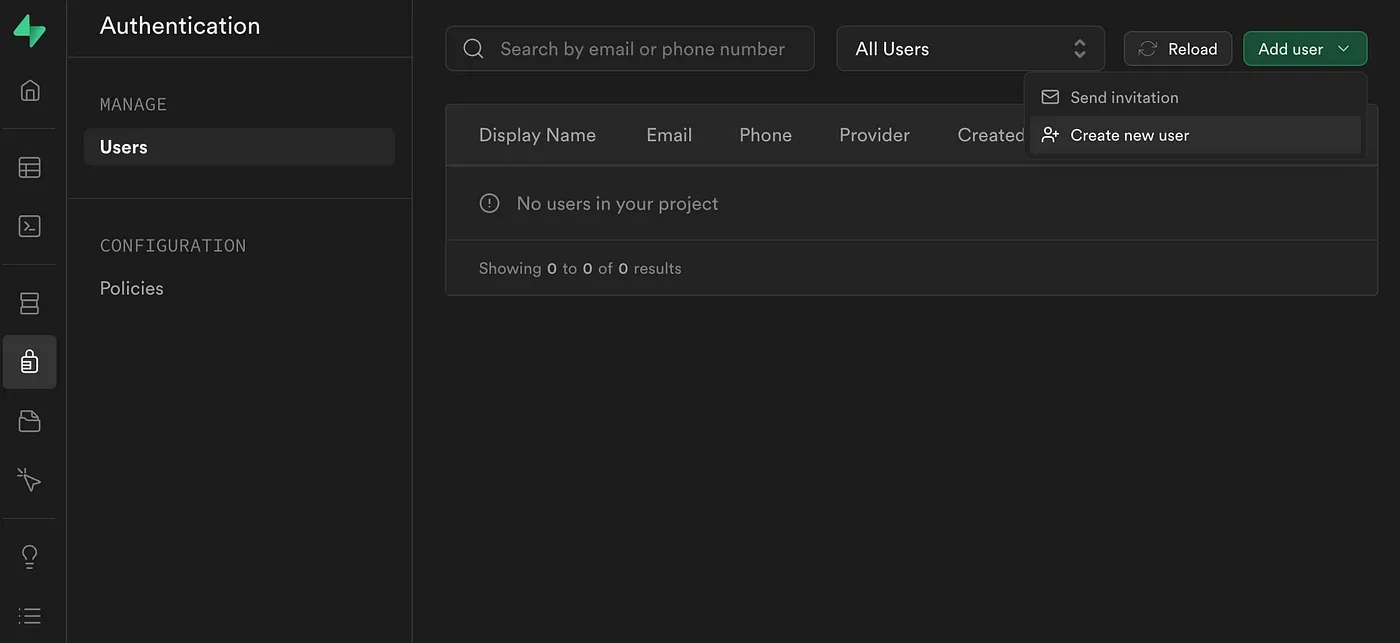
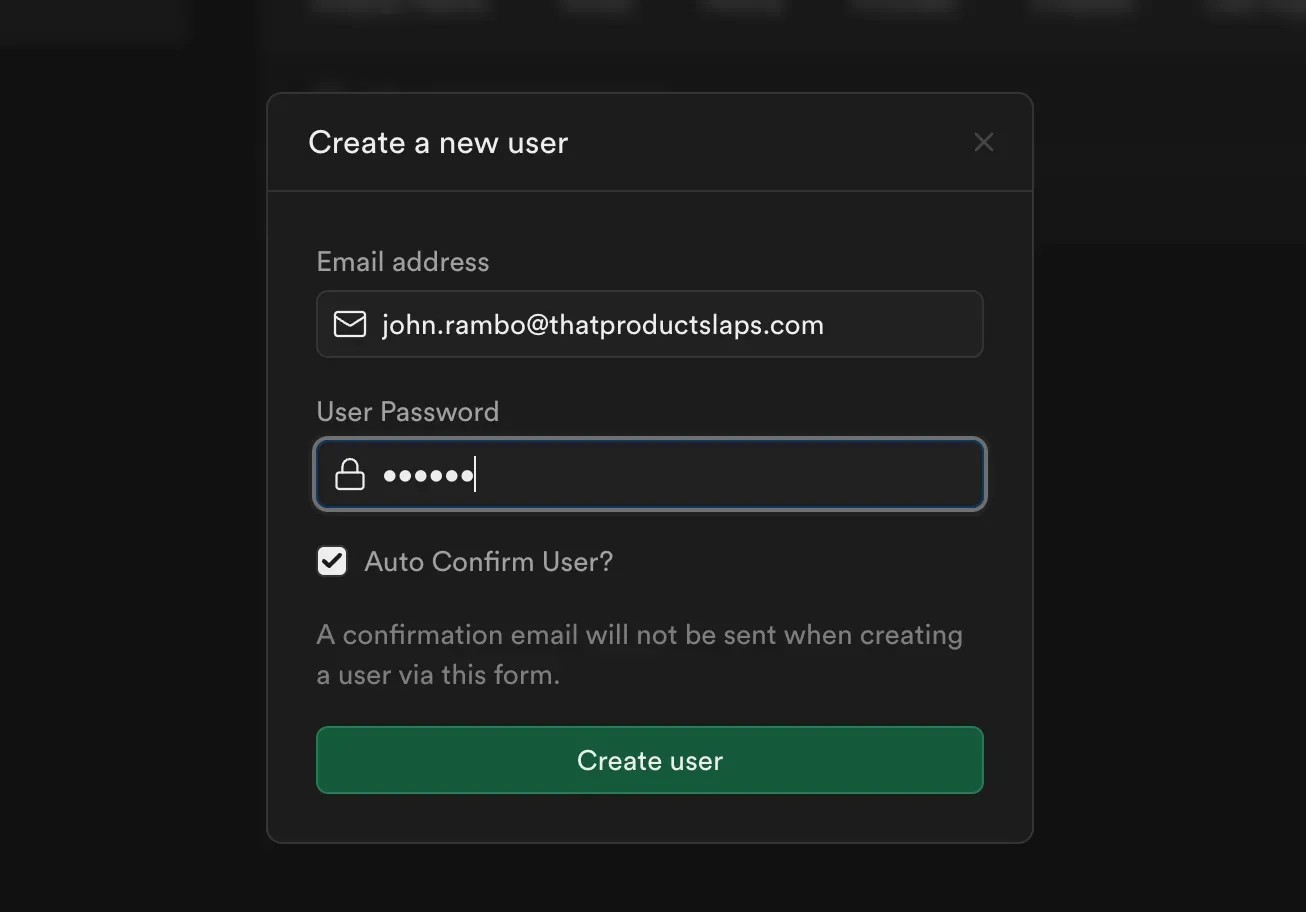
user: john.rambo@thatproductslaps.comp/w: abc123
Select from the two tables, copy as JSON for each
select * from auth.users;select * from auth.identities;
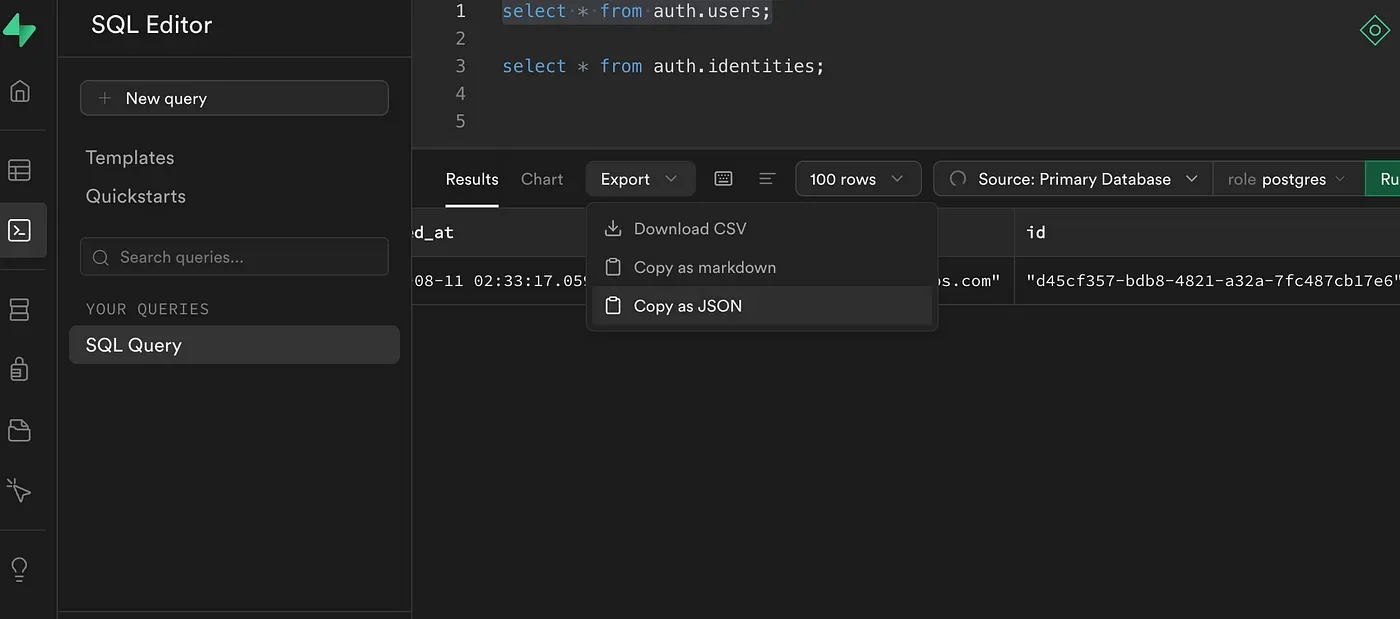
Copy the table definition for each (table editor -> search for table -> definition)
Ask ChatGPT to create you a PostgreSQL insert statement using that data for that table schema:
You are a PostgreSQL expert. Create me an insert statement with this data: <> for this table: <>
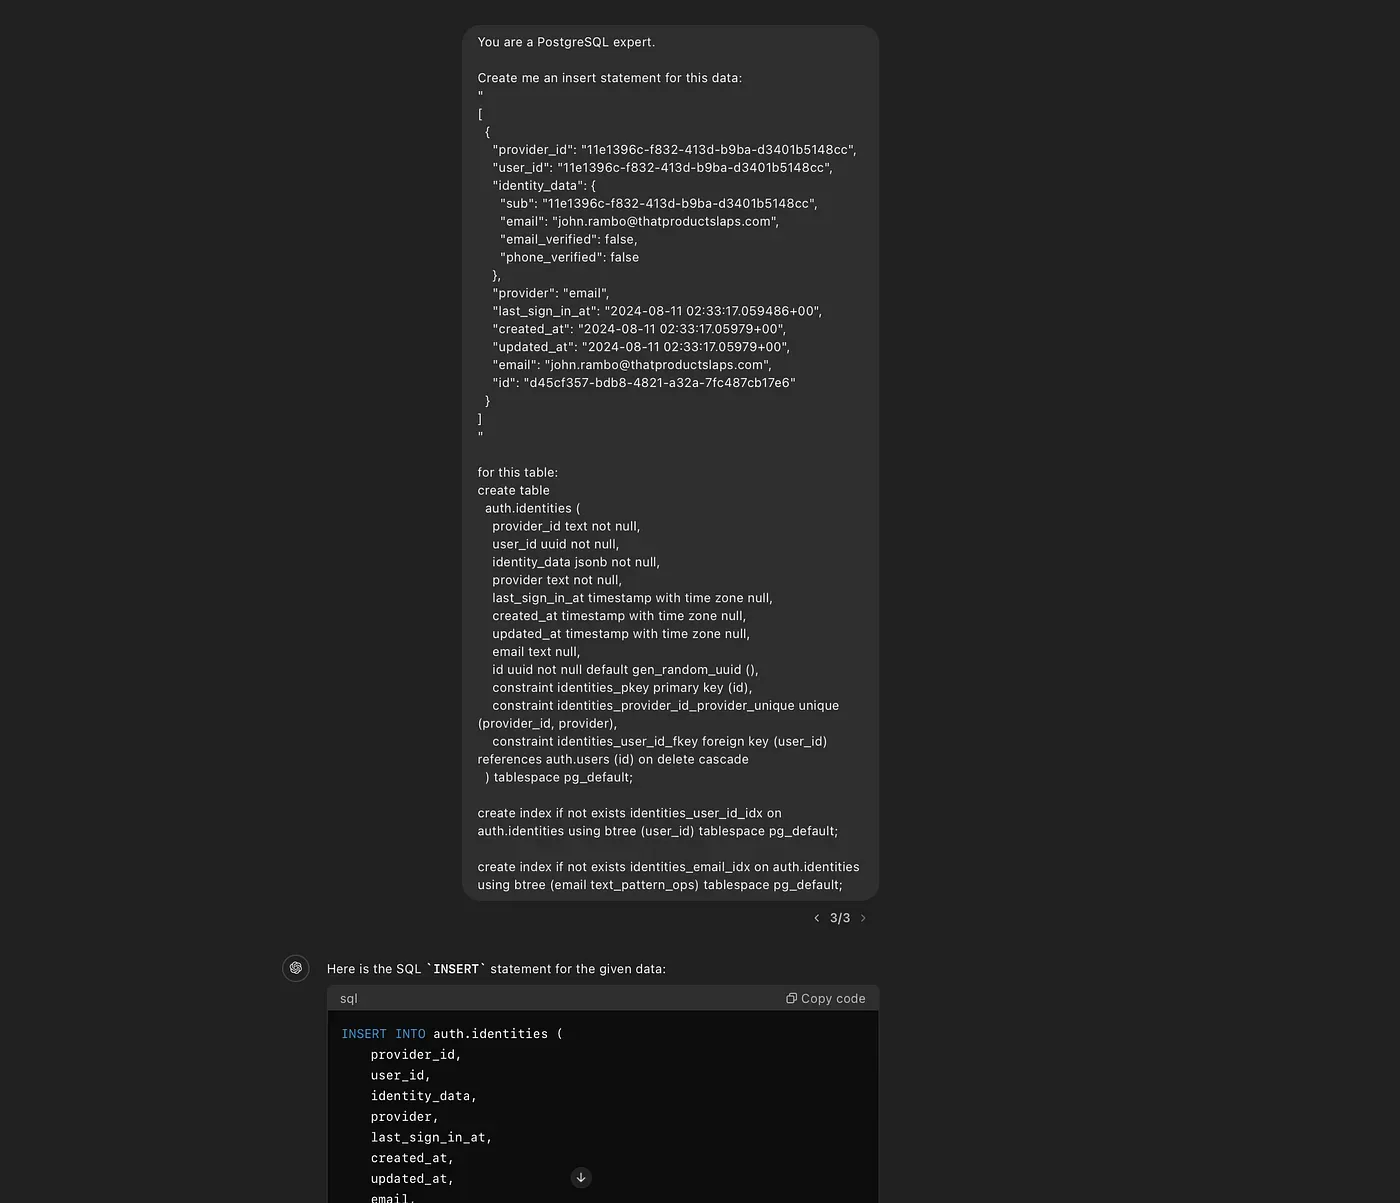
Note: Another way to do this is to download TablePlus and connect to your local postgreSQL DB, it alows you to right click and “Copy row as insert statement”
Create a seed.sql file under /supabase and add both sql insert statements in that file.
Make some adjustments to the SQL to make it correct: For auth.providers do not insert the email column since that is generated and will give an error
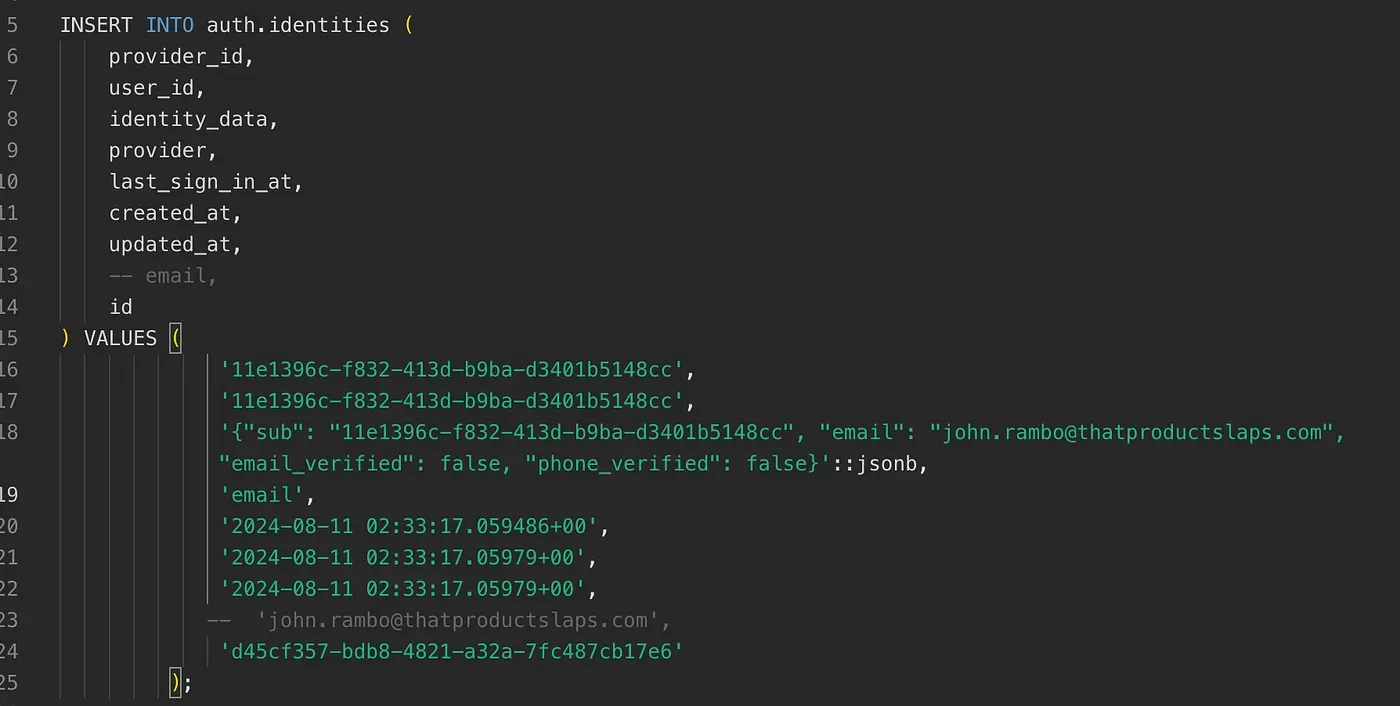
now everytime you run supabase start, the defaul user data will load in the database allowing you to login locally.
Comment for what you want to see next.
Stay in touch for more:
LinkedIn: https://www.linkedin.com/in/vlad-shostak-mba/
Twitter/X: https://x.com/VladShostak100